
Now that you are all setup for using Yesbot, and you have some tests in your testsbase, let’s see how you can run them against your system under test application.
(Disclaimer : as Yesbot is currently in a rapid development state, some screenshots and instructions may not be up-to-date with latest Yesbot available version)
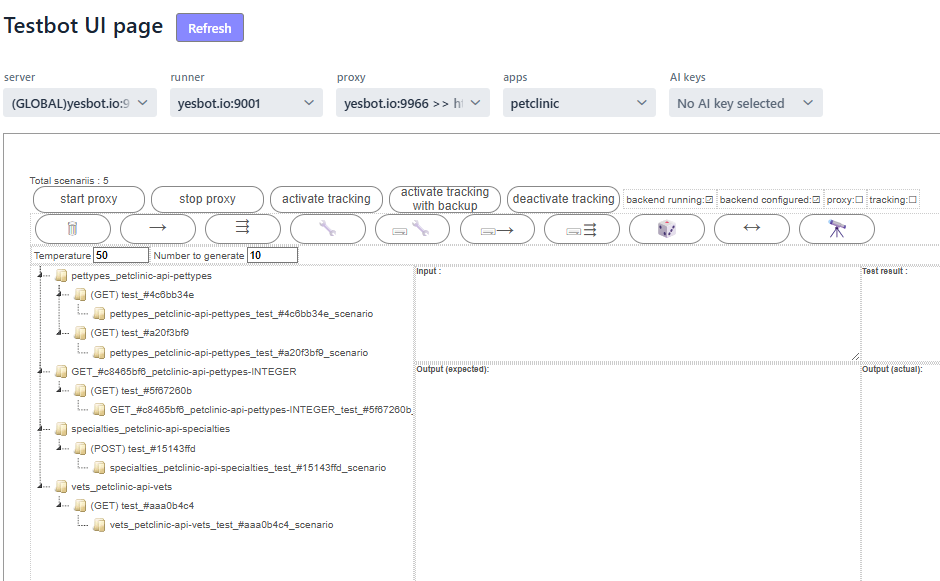
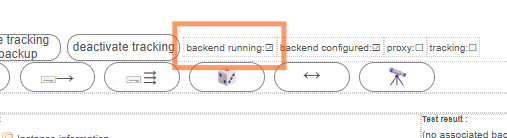
Make sure you have selected the right Yesbot server, runner, your proxy and app, and most importantly that your backend is detected and running.
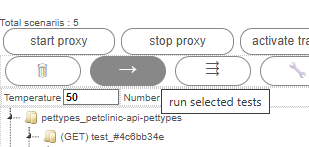
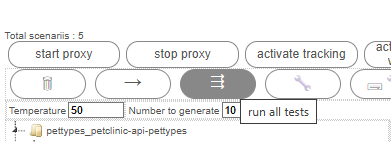
Now select the tests you want to run, and press «Run selected tests». You can also run all tests with next button «Run all tests»
Once you have ran some tests, you can have 2 possible results :
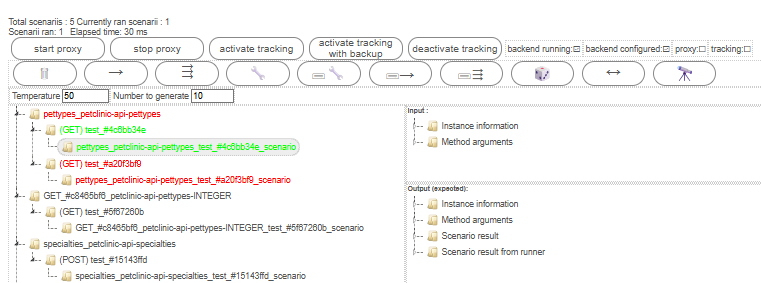
Tests scenarii that have passed will be marked in green. Failed tests scenarii will be marked in red. If all scenarii pass for a given test, the whole tree will be marked in green. If any of the scenarii has failed, the whole parent will be marked in red. Scenarii that have not been ran yet appear in black.
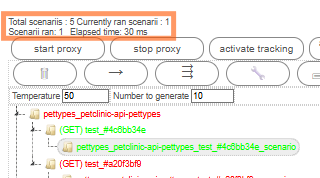
You can see in the information panel, execution information about your last ran scenarii :
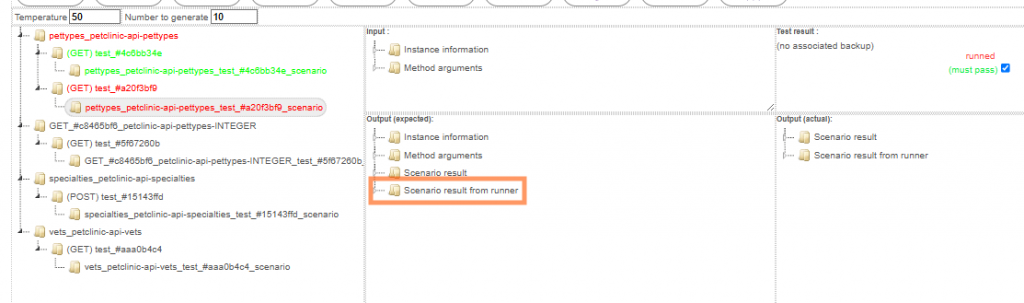
You can have a look in the Output (expected) section of a selected test to have a look of the expected / actual scenario data, in the «Scenario result from runner» attribute (only scenarii that have been ran at least once have this attribute):
If you deploy this attribute, for instance for a failed test, you’ll see difference markers to help you identify in a glance what are the differences between expected and actual outputs :
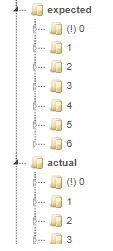
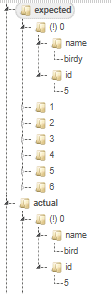
In this case we can see that the first item of the returned list by the endpoint is slightly different : although they have the same id, the pet type category name is «birdy» for first one, and «bird» for the second one.
In the next page, we will show you how to edit and manage your tests scenarii.