
So you’re ready to stop writing tests for your backend project ? Let’s dive ! Don’t worry, it will be easy.
(Disclaimer : as Yesbot is currently in a rapid development state, some screenshots and instructions may not be up-to-date with latest Yesbot available version)
Setting up your Yesbot account
In order to use Yesbot, you first need to have an account. On today however, since Yesbot is still in a closed alpha version, we do not offer the possibility to create yourself an account. So in order to get a testing account, please contact us using information from the contact page, specifying in the message subject that you want to get an account, and in the message, the following information :
- Your name and your company name
- The email address you want to use (this one will be used both as your username and for password reset)
- Optionally : The number of tests cases you’d like to have (1 test case is the simplest unit of test you can think of)
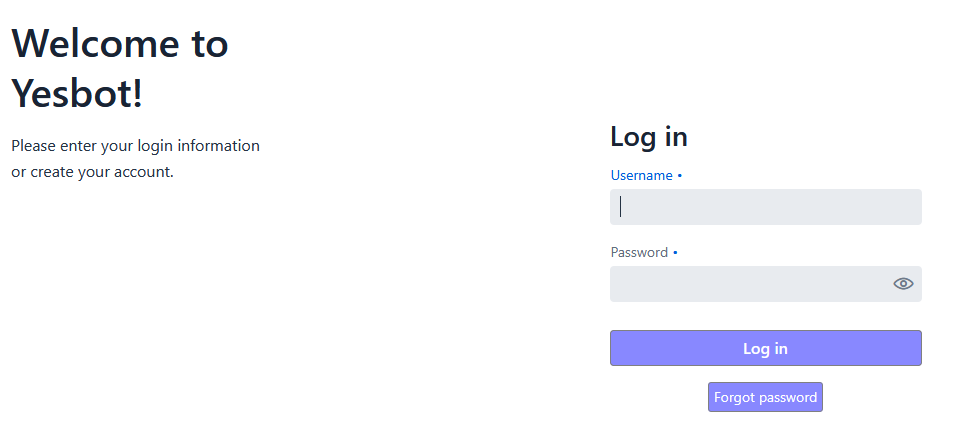
As soon as we receive your email, we’ll create your account, and send you an email with your information and a link to set your password. Use this link to set your password, then you can log in into the Yesbot alpha platform at this link :
Once you have logged in, you’ll be able to access the main page
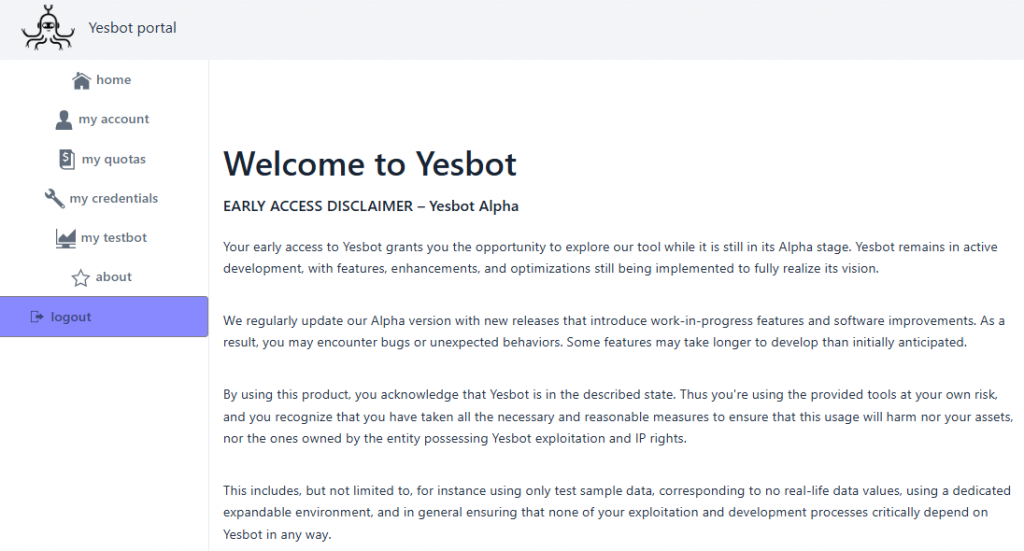
You’ll access the landing page. Please read carefully the disclaimer. In summary it says that yesbot is still in an alpha version and is expected to experience some unstability that is in the process of being fixed. Now you can start to configure your account to wire your front end and backend with yesbot.
Yesbot acts like an interceptor between your frontend and backend, in order to analyze the exchanges and create test cases. So you’ll need to change your frontend’s configuration to point to yesbot instead of your current backend, this will be covered in the next section.
Configure your front-end
Set your Yesbot platform account information
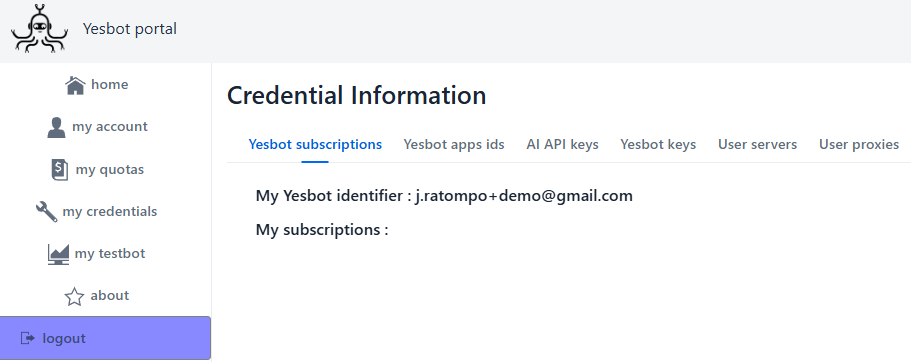
First go to your Yesbot account, in the «My Credentials» section :
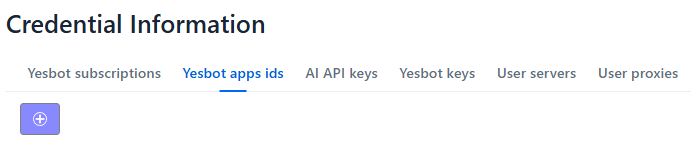
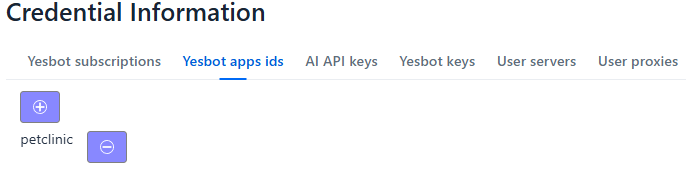
- First, access the «Yesbot app ids» tab :
Add a new application id to represent your currently tested application. For the example’s sake, let’s use “petclinic” as value. We’ll have in the end this result :
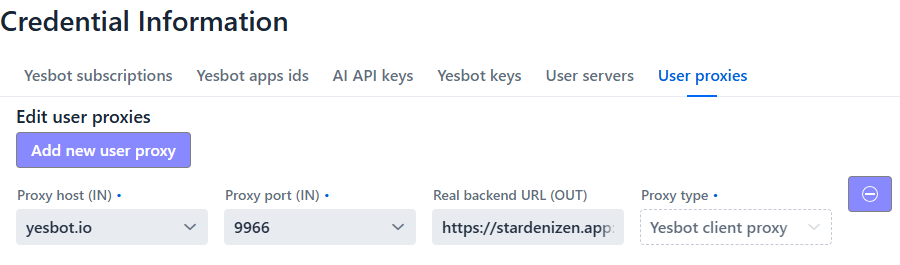
- Now access the «User proxies» tab :
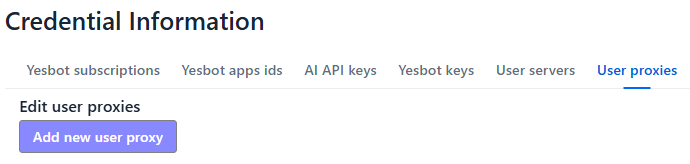
Click on «Add new user proxy», we have default values to be overriden by your configuration :
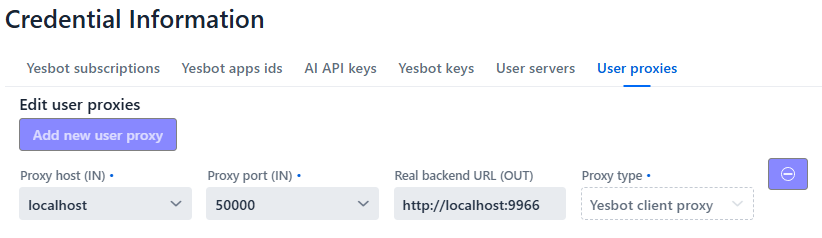
Now replace the default values with the following values :
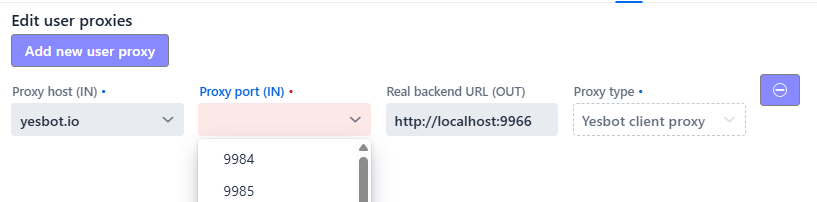
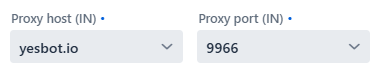
- In fields «Proxy host» and «Proxy port», choose the yesbot proxy values : for instance
yesbot.io : 9966 (choose among the available ports for any given host) note these values for further configuration.
You should have the IN information as follows :
- Imagine you have your backend application server running on this host : https://stardenizen.app:9967/petclinic/ : in field «Real backend URL», indicate your backend’s API complete URL: https://stardenizen.app:9967/petclinic/api/
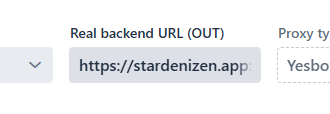
You should have this configured :
Change your Frontend configuration
For instance if we have an Angular frontend :
In your current Angular configuration, in your (development) file <your-app-root-directory>/src/environments/environment.ts you had something like that :

Where we have the value to the real backend in configuration parameter REST_API_URL :
https://stardenizen.app:9967/petclinic/api/
Now we change the REST_API_URL to the inlet of yesbot (called the yesbot proxy), ie the value :
https://yesbot.io:9966/petclinic/api/

You should have everything configured for starting to use Yesbot.
Test your frontend configuration
Now your frontend will communicate only indirectely with your backend, through a Yesbot proxy. In the Yesbot platform, simply go to the «my yesbot» main piloting interface page. You should see no tests yet, since we’re yet to generate them. Make sure your tested backend application is currently running, so you should see the backend indicator should set to on :
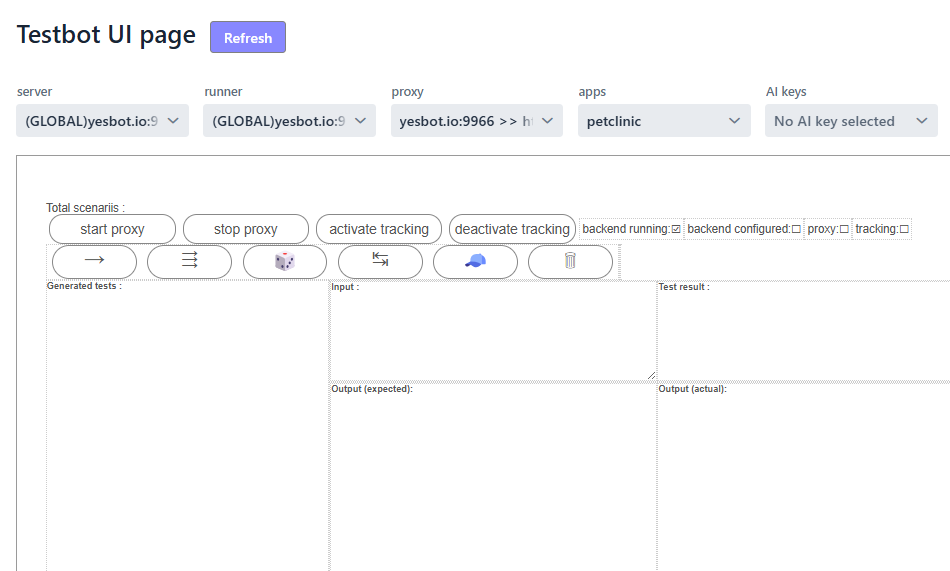
Now click on the “start proxy” button, you should see the proxy indicator now set to on :

Now go on your application running frontend, you should see that it works as usual, as all exchanges are being forwarded to your backend through a Yesbot proxy.
That’s all that you need ! However you can use Yesbot in a more advanced way. In the next documentation page we’ll see how to configure your backend to enable automatic tests discovery, modifying tests, and possibly more !
Before you continue, we strongly encourage you to have a quick look at the glossary, just to be sure we use common words and concepts associated with Yesbot. Those will be useful ! (Don’t worry it’s a very short read)